发布到 Apple App Store
发布流程与其他原生 iOS 应用相同,但还需要考虑一些额外事项。
如果你使用的是 Expo,请阅读 Expo 的部署到应用商店指南,以构建应用并将其提交到 Apple App Store。此指南适用于任何 React Native 应用,可用于自动化部署流程。
1. 配置发布 scheme
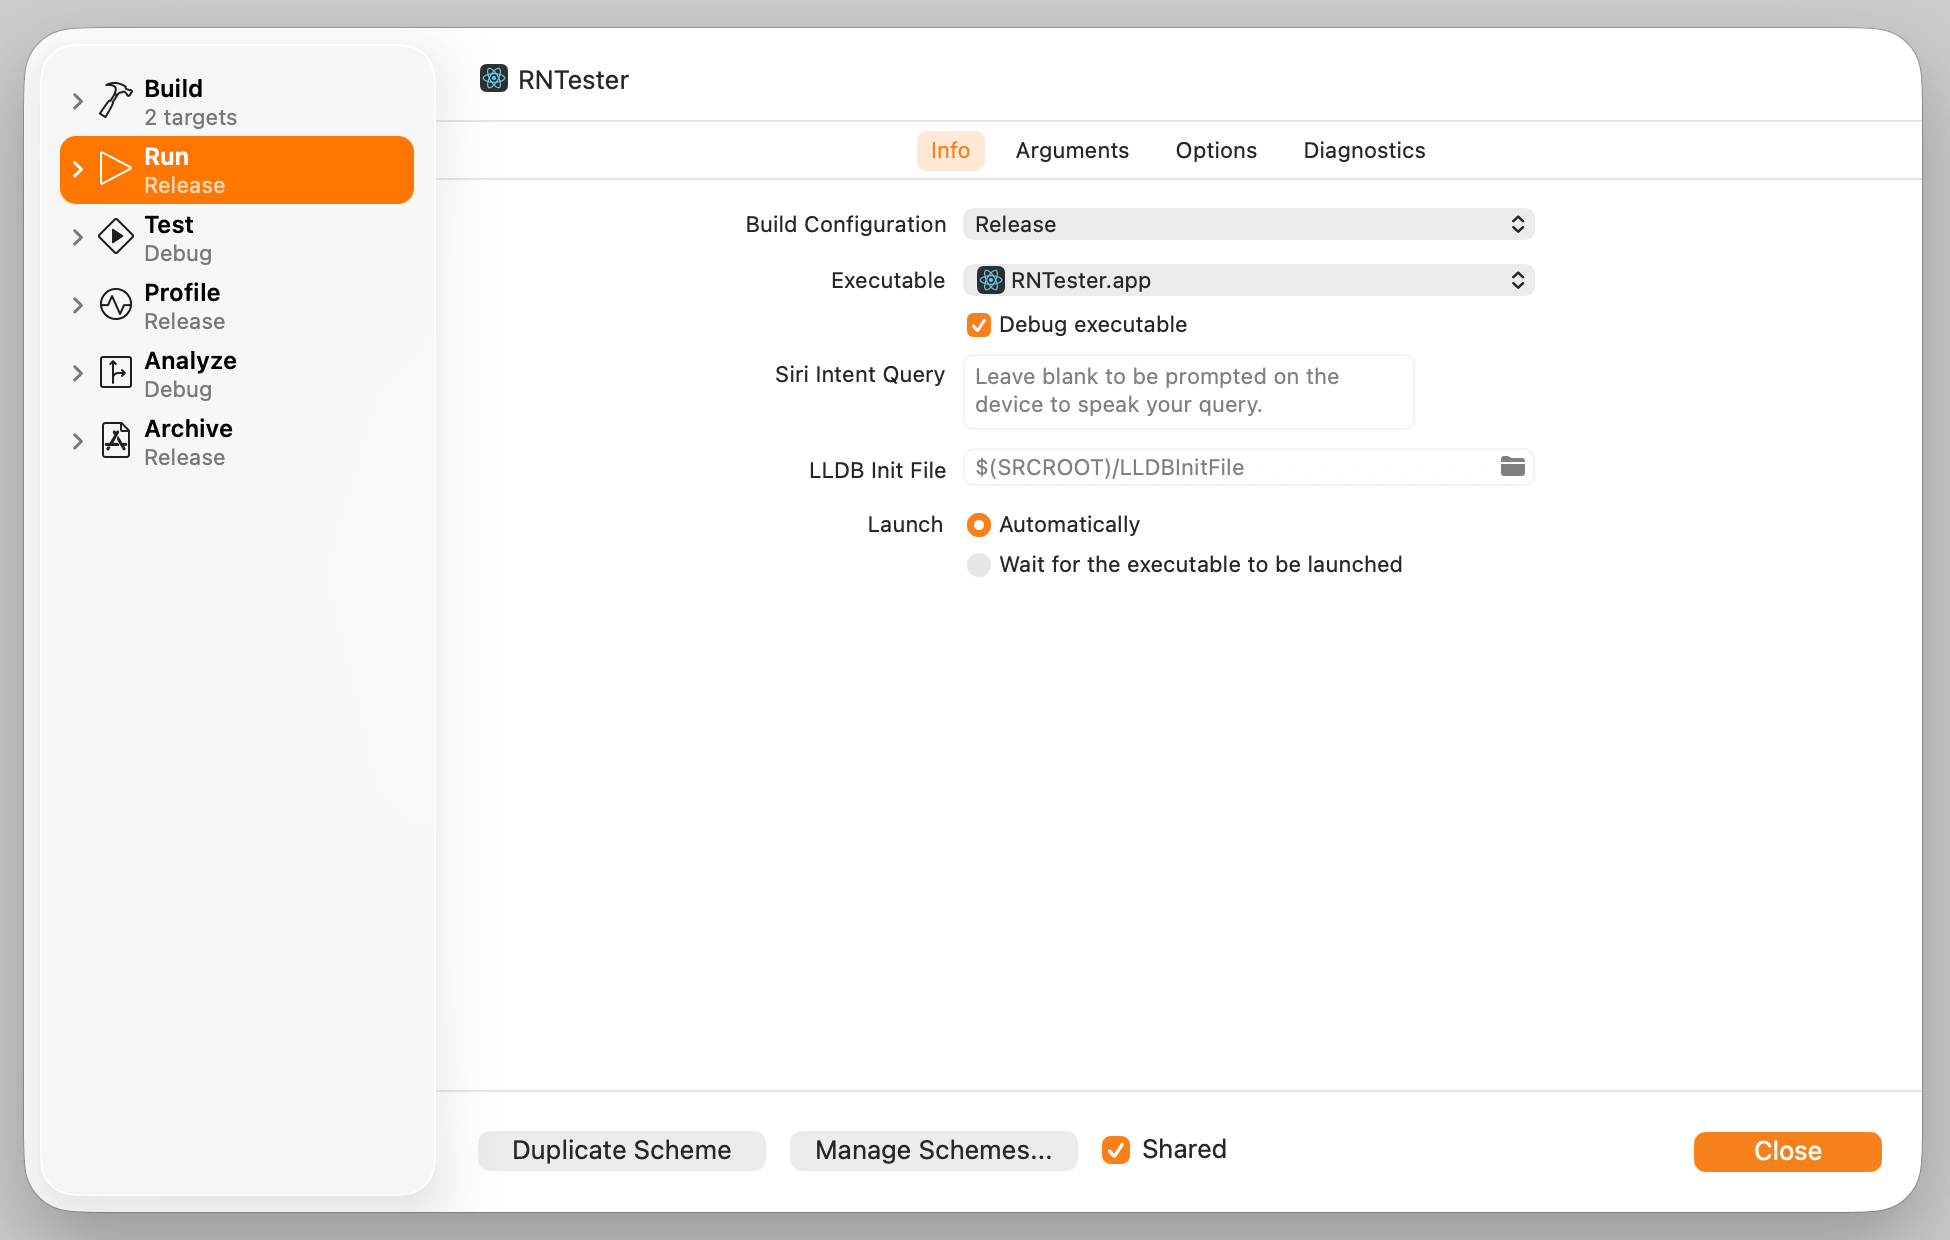
要构建用于在 App Store 中分发的应用,需要在 Xcode 中使用 Release scheme。为 Release 构建的应用会自动禁用应用内 Dev Menu,从而避免用户在生产环境中意外访问该菜单。它还会在本地打包 JavaScript,因此你可以将应用安装到设备上,并在未连接电脑的情况下进行测试。
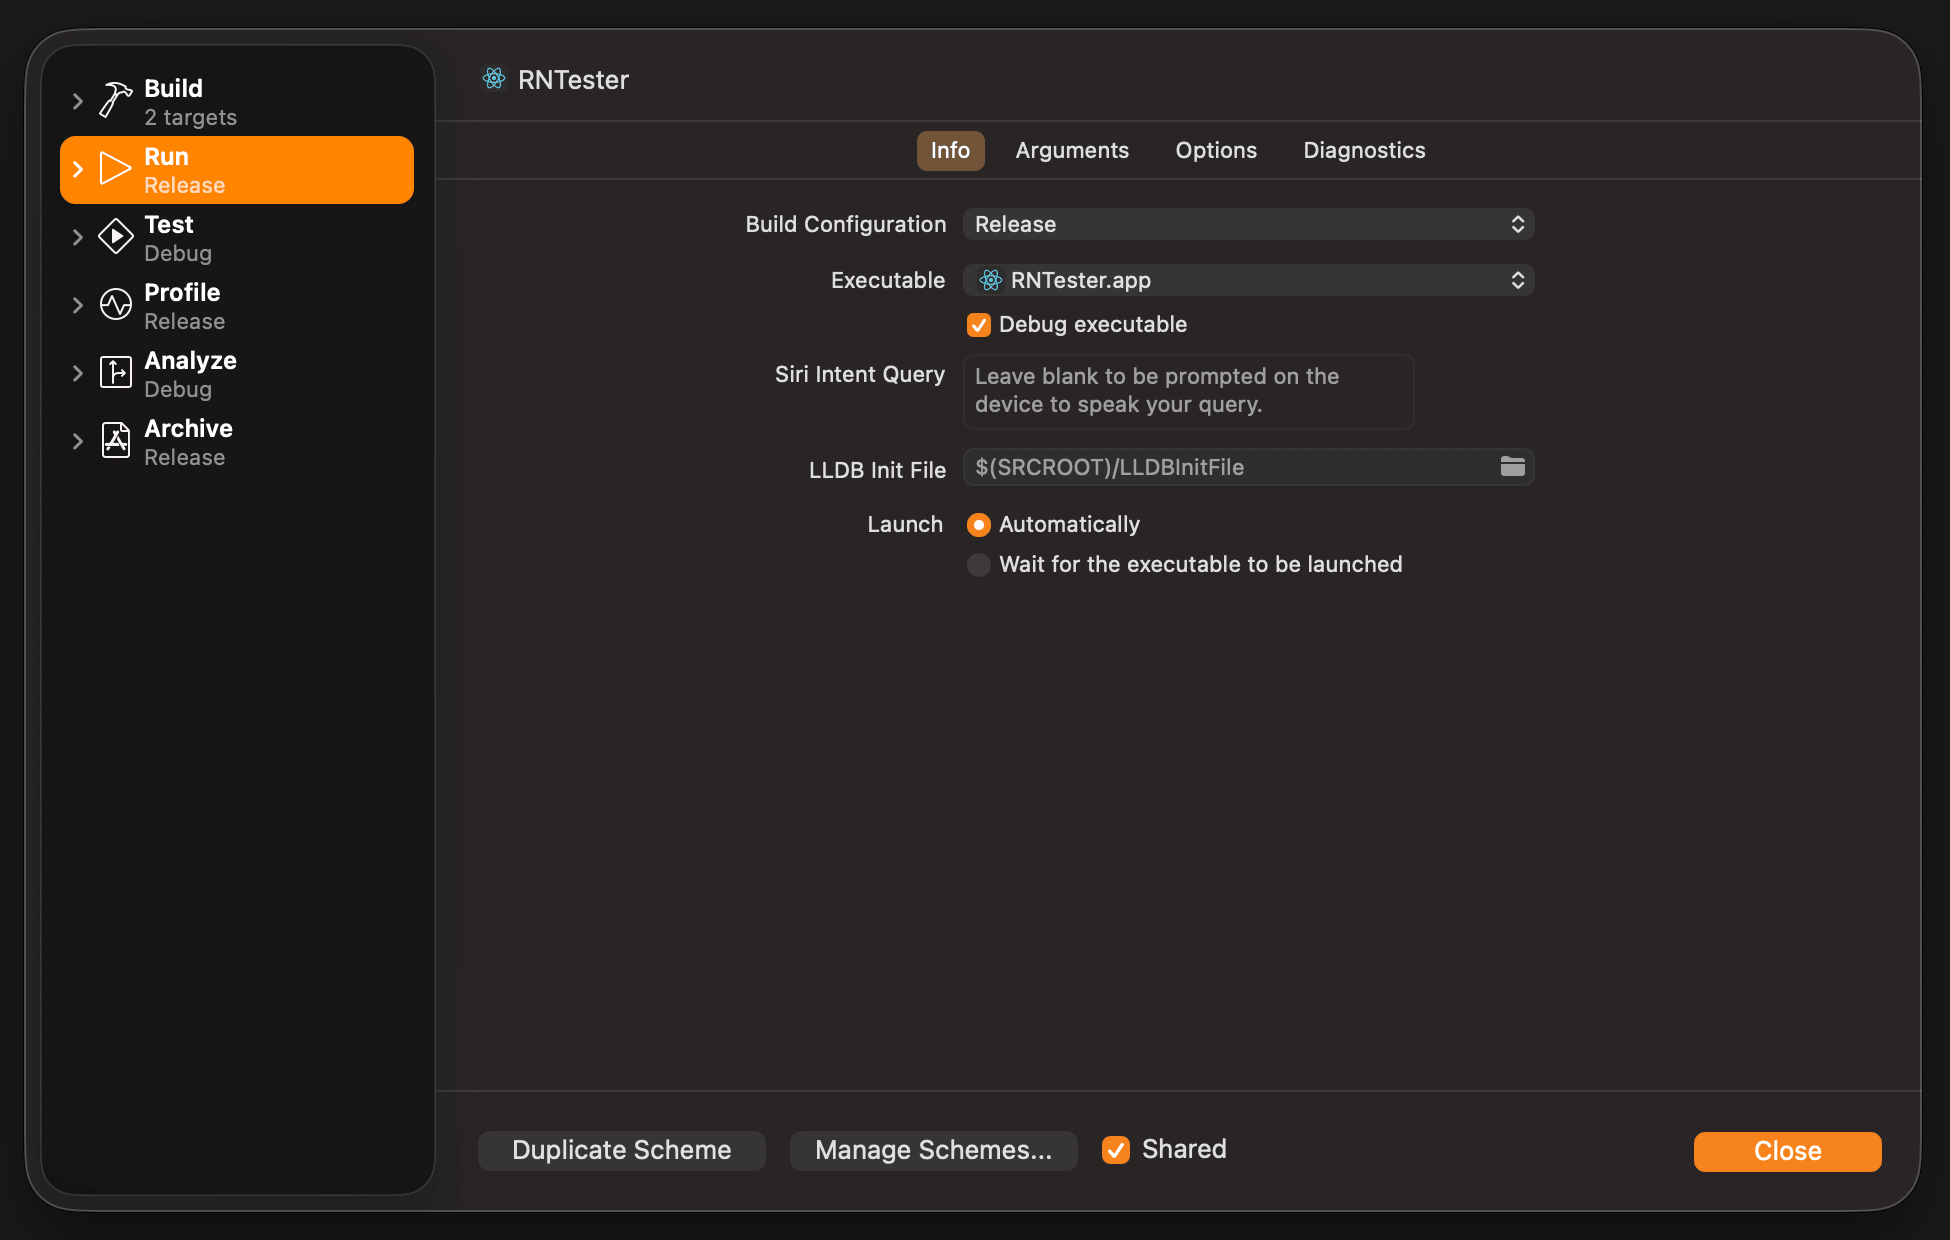
要将应用配置为使用 Release scheme 构建,请前往 Product → Scheme → Edit Scheme。在侧边栏中选择 Run 标签页,然后将 Build Configuration 下拉菜单设置为 Release。
实用技巧
每次以实体设备为目标时,都会构建静态 bundle,即使是在 Debug 模式下也是如此。如果你想节省时间,可以将以下内容添加到 Xcode 构建阶段 Bundle React Native code and images 中的 shell 脚本,以关闭 Debug 模式下的 bundle 生成:
 if [ "${CONFIGURATION}" == "Debug" ]; then
  export SKIP_BUNDLING=true
 fi
2. 构建发布版本应用
现在,你可以通过点击 Cmd ⌘ + B,或从菜单栏中选择 Product → Build 来构建应用的发布版本。构建发布版本后,你就可以将应用分发给 Beta 测试人员,并将应用提交到 App Store。
你也可以使用 React Native CLI 执行此操作,方法是使用值为 Release 的 --mode 选项(例如,在项目根目录中执行:npm run ios -- --mode="Release" 或 yarn ios --mode Release)。
完成测试并准备好发布到 App Store 后,请按照本指南继续操作。
- 打开终端,进入应用的 iOS 文件夹并输入
open . - 双击 YOUR_APP_NAME.xcworkspace。此时应会启动 Xcode
- 点击
Product→Archive。确保将设备设置为 "Any iOS Device (arm64)"
检查你的 Bundle Identifier,并确保它与 Apple Developer Dashboard 中 Identifiers 里创建的标识符完全一致
- Archive 完成后,在归档窗口中点击
Distribute App - 现在点击
App Store Connect(如果你想发布到 App Store) - 点击
Upload→ 确保选中所有复选框,然后点击Next - 根据需要,在
Automatically manage signing和Manually manage signing之间进行选择 - 点击
Upload - 现在,你可以在 App Store Connect 的 TestFlight 下找到它
现在填写必要的信息,然后在 Build 部分选择应用的构建版本,点击 Save → Submit For Review
3. 截图
Apple Store 要求你提供适用于最新设备的截图。有关这些设备的参考信息可以在这里找到。请注意,如果已为其他尺寸提供截图,则某些显示尺寸的截图不是必需的。